The following are the steps one of my friends taught a group of us a few weeks ago. I made some notes at the time and made a phone call yesterday and managed to make three more of the cases today. The above instruction only uses two fabrics but we make the pillowcases with an extra accent strip so here are the fabrics you will need.
3/4 yard for the main body
1/4 yard for the cuff
1/4 yard for the accent strip

If you bought exactly 3/4 yard for the main body make sure you square it up. If you bought a larger piece you need to cut it to 28 inches.
Cut 2 1/2 inches for the accent strip.
Cut 9 inches for the cuff.
Next fold and press the length of the 2 1/2 accent strip in half.
Lay your cuff fabric face up.

Next lay the accent piece with the raw edges along the top edge of the cuff fabric. This is one of the pictures I missed taking. This is what the accent piece should look like before you lay it on top of the cuff fabric.

You next lay the main fabric face down and temporarily pin it in place along the top edge with the other fabrics. It should now look like this.

Do not worry if some of the edges do not meet exactly you will take care of that later.
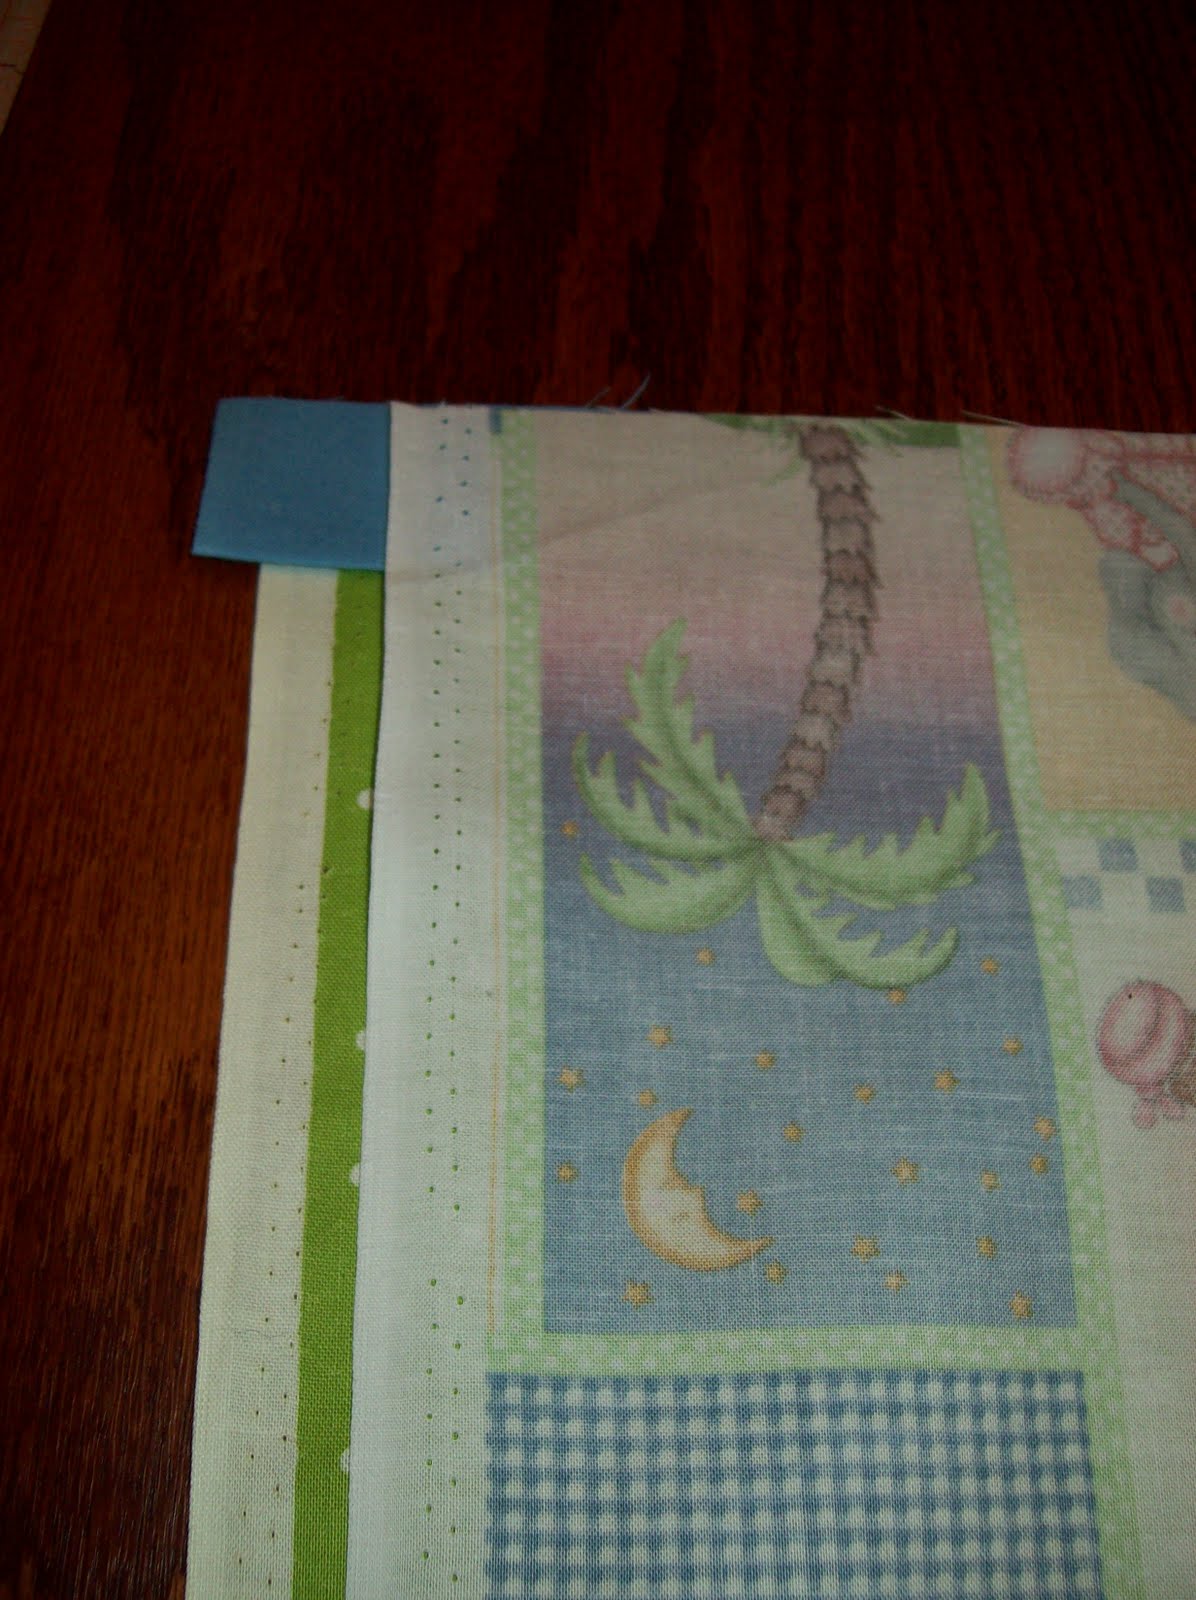
In the picture above you can see how the fabrics are stacked.
Next start rolling the main fabric from the bottom towards the pinned edge .

When it looks like the next picture bring the cuff fabric up and over from underneath re-pinning that edge in with the top edge, being careful not to pin the rolled fabric in with it.

It will look like this after re-pinning.

Ready? Sew all the layers together with a 1/4 seam along that top edge you have pinned all the layers together at.

After you have seamed it and taken all the pins out you now pull the inside out of the tube you have just made. It looks like the next picture when you are pulling the inside out.

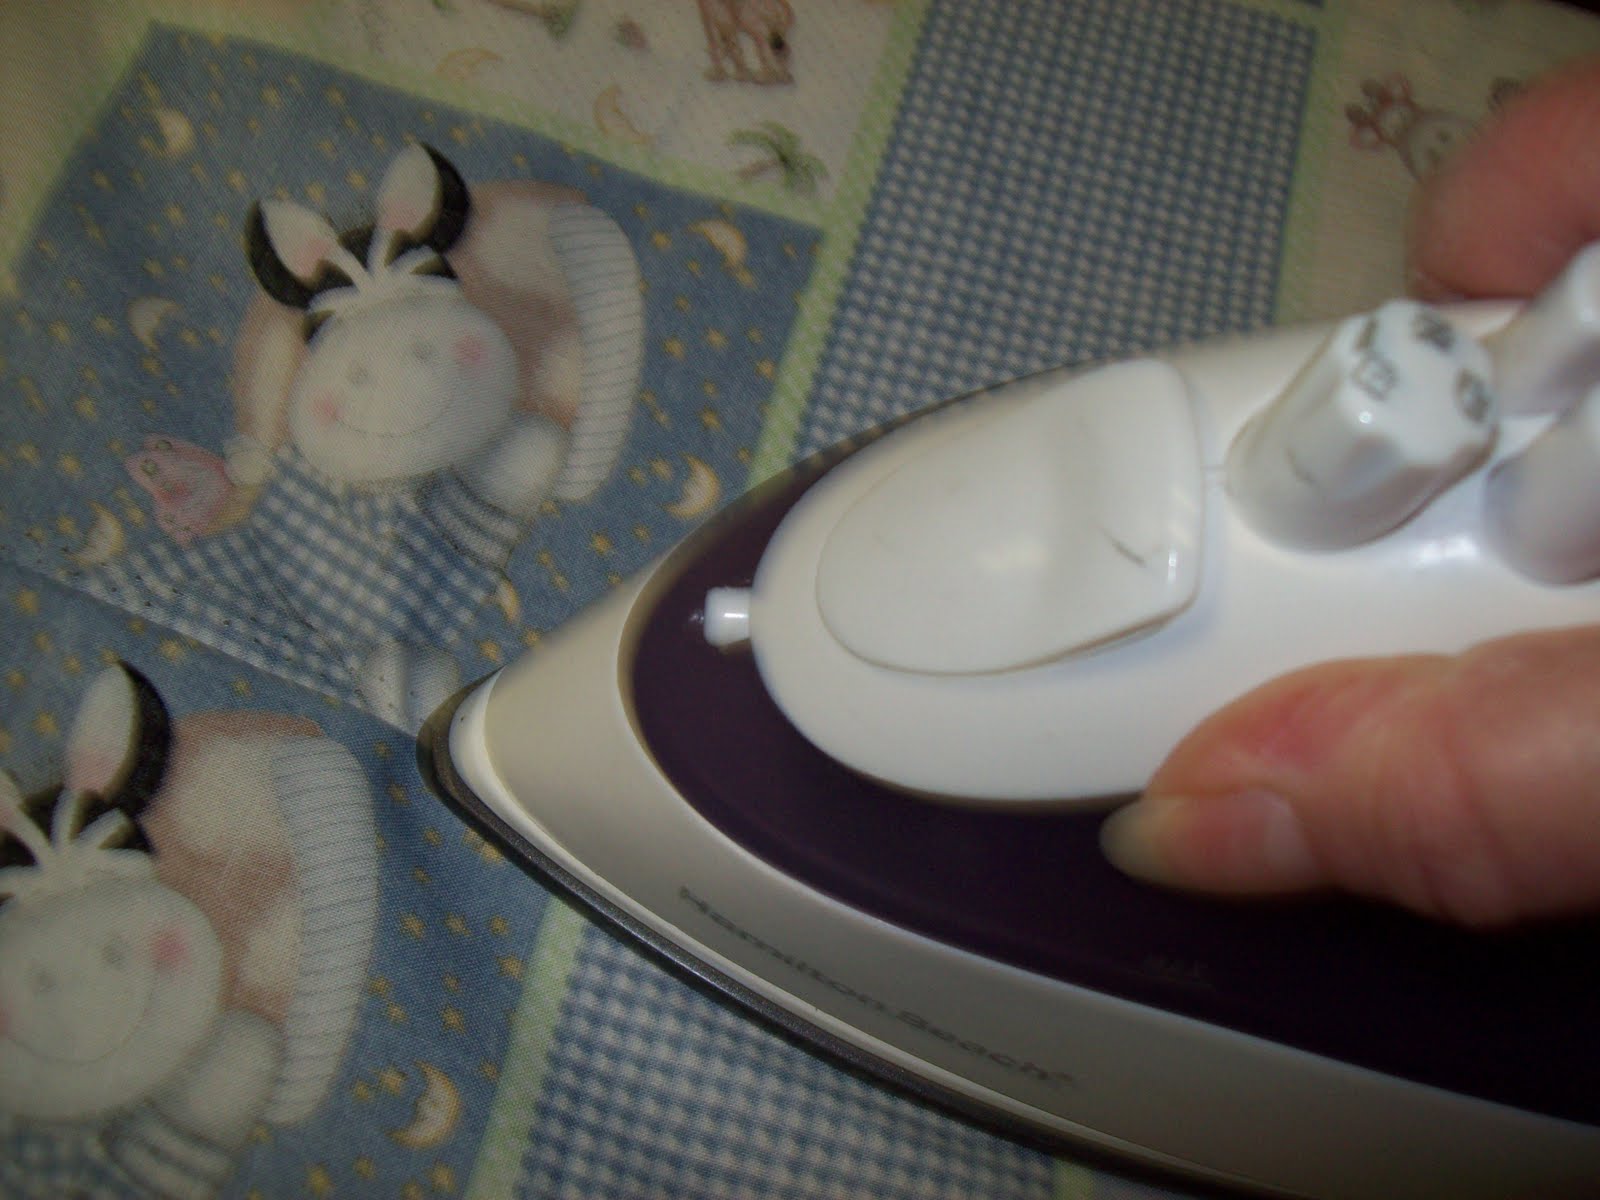
Press the now flat piece and even up the sides by cutting off the salvage and any overhanging ends.

Ok here is where I have really missed a picture or two. You next take your now flat piece of fabric that has the cuff attached and fold in half with the wrong sides together. Do not think this is wrong because it sounds wrong there is an extra step because we are using a french seam. Pin down the side and across the bottom and sew a 1/4 seam down the side and across the bottom. Now turn the wrong side out making sure to poke the corners out and press the seams well.
Now again you seem down the side and and across the bottom, only this time you use a 3/8" seam. This makes your French seam. Turn right side back out and press. Your done. I made these three for my youngest grandsons this afternoon in about 2 hours.


I am really sorry I missed a couple of pictures that I thought I took. I did not have any other fabric to start another to get more pictures at this time. I hope you can follow the directions or that you can pop over to the site I mentioned at the start of the post to fill in anything you do not understand. But beware these are addicting. Every time you walk into a store that carries fabric you are thinking about the combination you can put together to make more of these pillow cases. While you are here pop over to wish the Happy Mrs C a happy birthday, it is tomorrow. You can find her at http://happymrsc.blogspot.com/. Happy birthday Mrs C!


2 comments:
Thank you, thank you, thank you...I understand the directions and you did a great job! I appreciate that you took the time to photograph each step and explain it so clearly! You are such a good friend! Thanks
Very cute! I have made so many pillowcases for my children and nieces and nephews over the years, I think they have way more than they need.
Son, who is very happy to have Mom-made pillowcases on his bed at home, refused to take his crocodile or dinosaur pillowcases to college this fall. My daughter, on the other hand, has all of hers in her dorm room. Silly kids!
Post a Comment